Let's get started...
DIY Photo Coasters
{Supplies}
-sponge brush
-scissors
-sanding block or paper
-pencil
-pack of coasters (got mine at the dollar store)
-Mod Podge
-4x6 photos
-clear satin spray paint (not pictured)
-scissors
-sanding block or paper
-pencil
-pack of coasters (got mine at the dollar store)
-Mod Podge
-4x6 photos
-clear satin spray paint (not pictured)
{How To}
1. Trace your coasters on the backs of each photo and cut out the photos.
2. Using your sponge brush, paint the coasters with Mod Podge and press the photos on top. Smooth them out carefully to remove any air bubbles and let dry.
2. Using your sponge brush, paint the coasters with Mod Podge and press the photos on top. Smooth them out carefully to remove any air bubbles and let dry.
3. Once dry, paint a thin layer of Mod Podge on the top of the photos. Let dry and repeat, painting the Mod Podge in the opposite direction (first time paint horizontal and second time paint vertical). In between the coats of Mod Podge, I used my sanding block to gently sand down any of the photos that hung off the edges of the coasters.
Make sure each coat is dry before applying a new one. This prevents air bubbles.
**Updated: Seal your photos with a coat of clear satin spray paint. This helps with condensation from your glass on a hot day.**
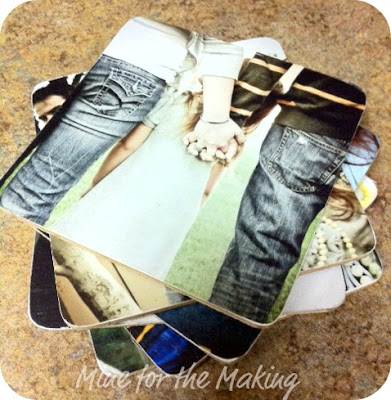
I obviously made this set of coasters for our own family. I just love the way the turned out with our new family photos courtesy of Joy Photography.
Now all you have to do is stack up your Photo Coasters and tie a piece of ribbon around it and call it a gift!
We love ours and have been using them for our hot coco mugs : )
If you decide to make these, I would love to hear about them and see them! Leave a link or email me photos.
Thanks friends!
Have a great week!
Thanks toMine for the Making


No comments:
Post a Comment