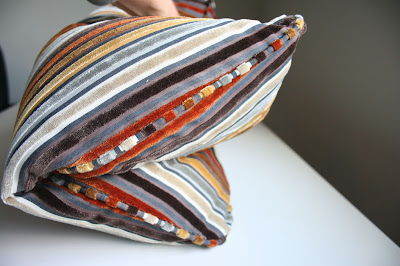
this is how i made my covers:
 first i measured my pillows i wanted to cover. these turned out to be 21" by 21"
  -so from my patterned fabric and my back fabric i cut out two squares each measuring at 21" by 21" (yes i know i didn't add seam allowance, but you want your pillow to fully fill out the cover you are making. trust me it looks and fits better.)
 -then i placed the right sides together and pinned in place.
-next i sewed around all three sides of the pillow cover
 -on the 4th side i sewed only about 3" in from each side (back stitching at the start and stop of the stitch)
 -this will make stuffing and closing your pillow easier.
 -next i sewed diagonal about 1/4" to 1/2" in so your "ears" aren't so pointy when you turn it inside out.
  this is what you end up having.
  -turn inside out.
  -now take your pillow and fold it in half. (squish it down good)
  -and insert your pillow through the opening.
 -make sure you adjust the pillow while you are placing it inside. try to put the corners with the corners and flatten out and adjust your pillow once you get it in there.
 hand stitch or machine close the bottom opening.
  three pillows for $12 bucks...uh $4 bucks a pillow aint bad considering most pottery barn pillows cost at least $36 each. and that my friends is making my house pretty on a budget.
i like the color it gives and i love that i can easily change them out when i tire of them, because they only cost me $4 each to make.

by V and CO.

No comments:
Post a Comment